5 Gift Ideas for Amateur Food Photographers

Happy Black Friday, American friends of Crustcrumbs.  Any amateur food photographers in your life?  A wife who wants to start a food blog?  A friend who takes pictures of all his meals?  Here are 5 Christmas gift ideas that any new foodie photographer will love.

1. A reflector!

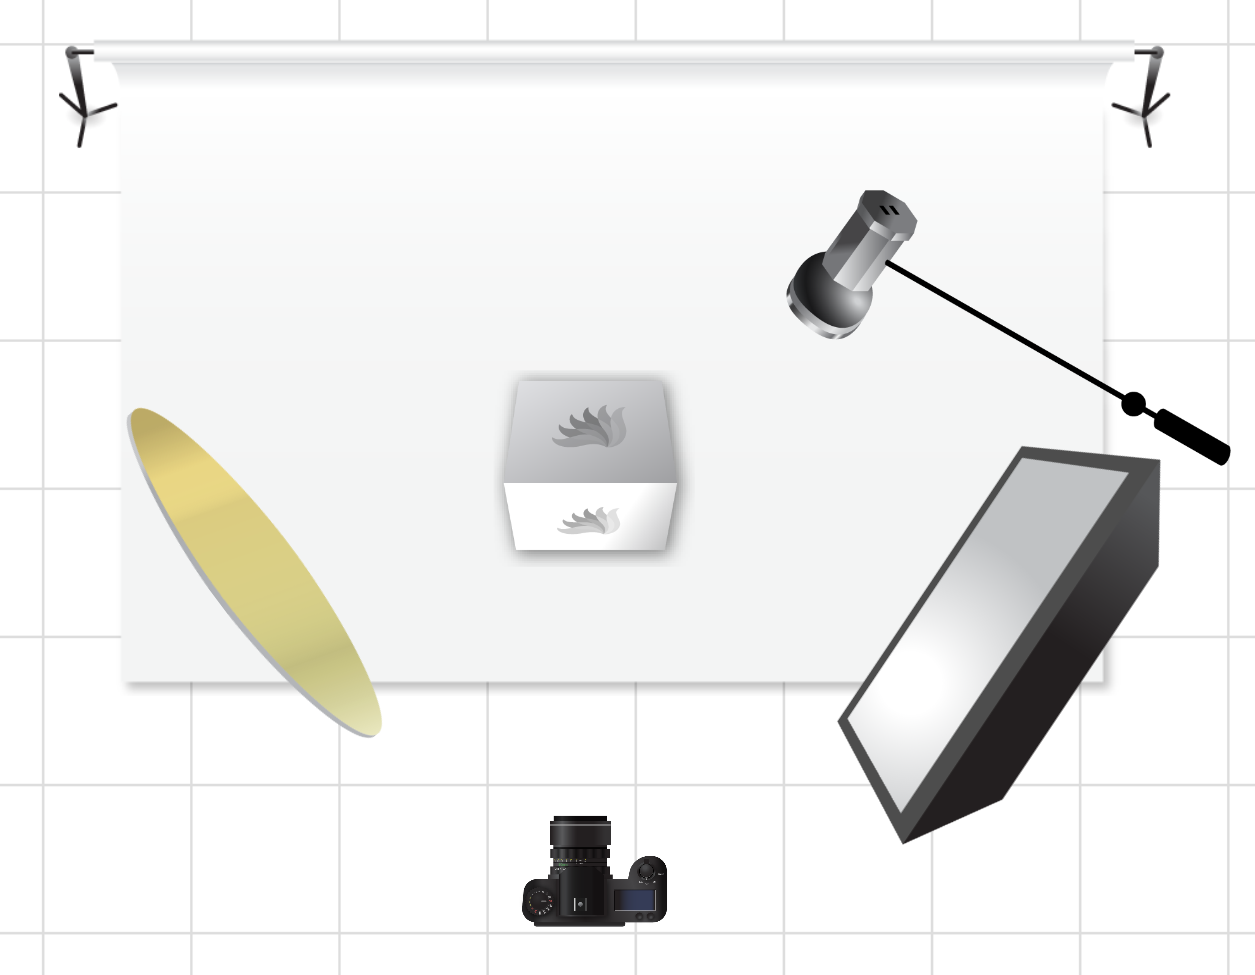
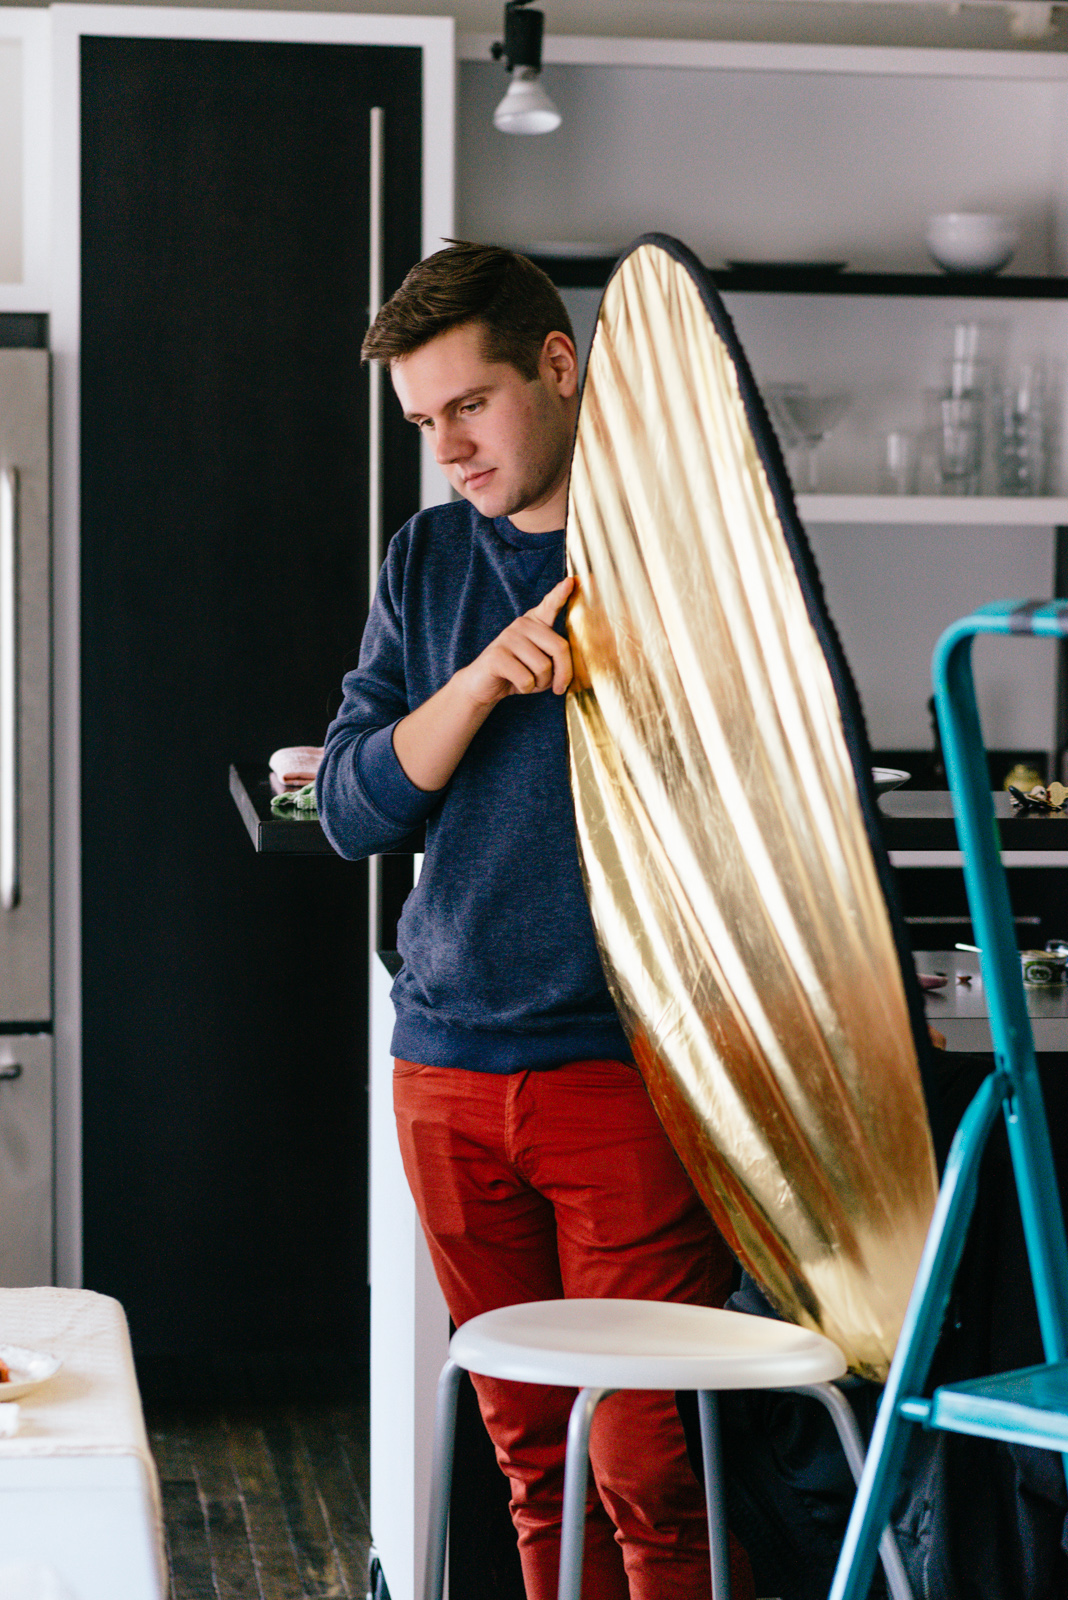
I will write about this in another post very soon, but I think a reflector is one of the most important tools in a photographer’s kit.  A 5-in-1 reflector (gold, silver, white, black, and translucent) is very useful, especially when shooting with natural window light, when you want to bounce some of the light back onto the other side of your food.  You can get one for under $30, and you can use it to bounce light, block light, and filter harsh light.  You can also get a stand and arm, or you can do what I do and make John hold it for you.

Using a reflector in food photography

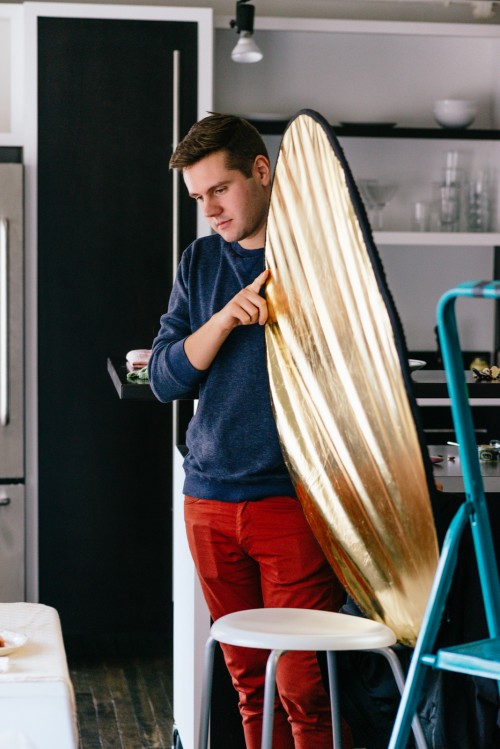
They come in all sizes.  Some collapse for easy storage.  Photojojo even sells a miniature reflector for $15 that can fit into your pocket, so you can bring it to restaurants and really annoy the waitstaff.

My own reflector is from Paul C. Buff.

2. A lens!

Nifty Fifty

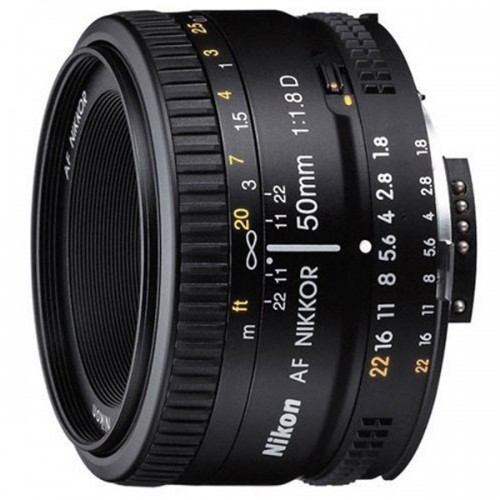
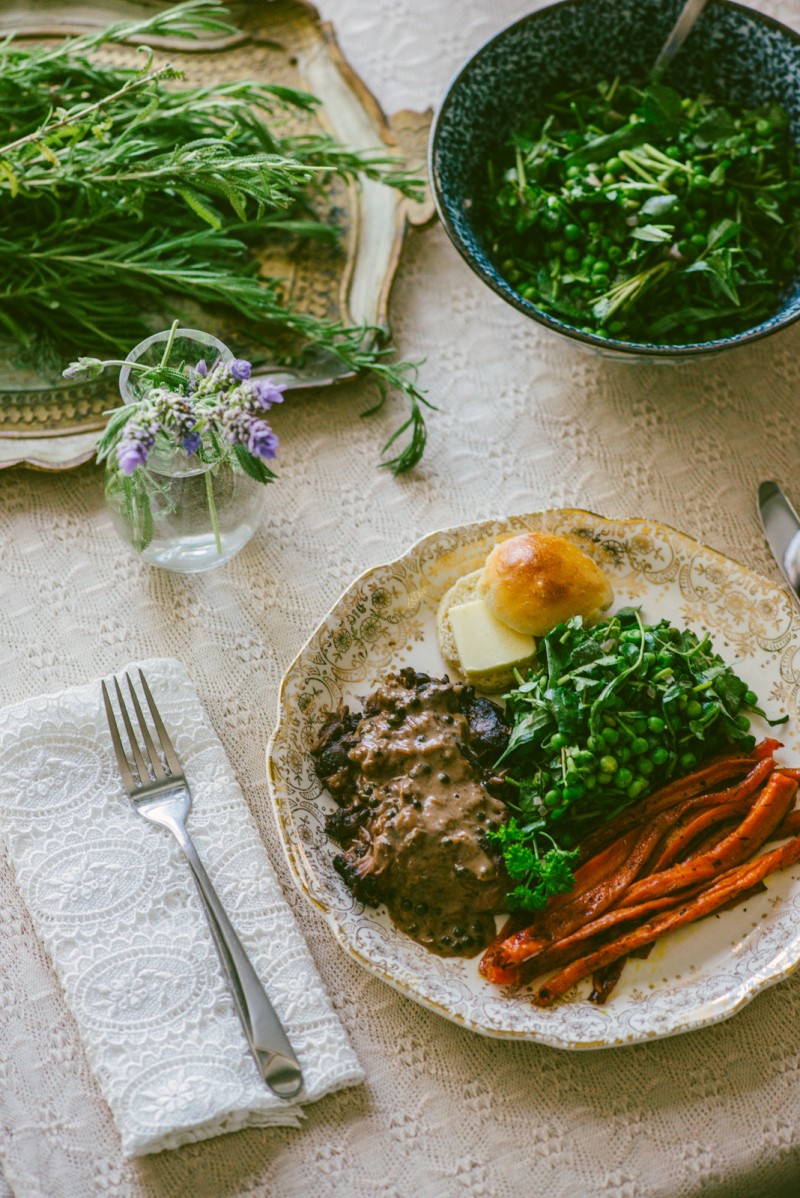
If someone you know is just starting out in photography, you’ve probably heard them complaining that their camera + kit lens takes crappy pictures in low light.  One of the best bang-for-your-buck lenses you can buy is a 50mm 1.8 lens.  Nikon and Canon both have versions for around $100-125. This is the Nikon version. This is the Canon version
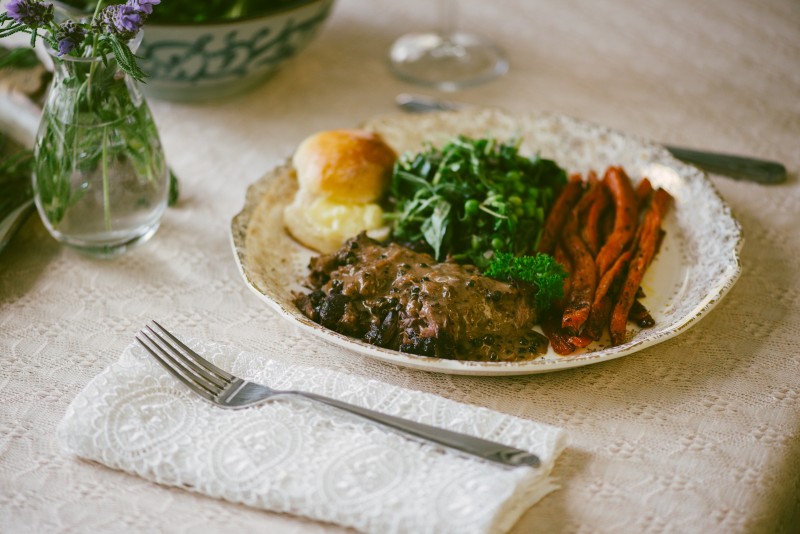
.  You really can’t go wrong with this lens, and I think everyone should buy one when they are starting out in photography.  It’s not so great for taking pictures of groups of people indoors (unless you have a very large room), but for food it’s excellent.  It will give your photographer friend great bokeh (the blurry part of the image) and let in a lot more light than a standard kit lens.  With this lens, your happy gift receiver can put away their pop-up flash so they stop taking photos like Martha Stewart’s.

If you want to spend about 4-8 times more money, a macro lens is also a good idea (Canon) (Nikon).

3. A tripod!

tripod

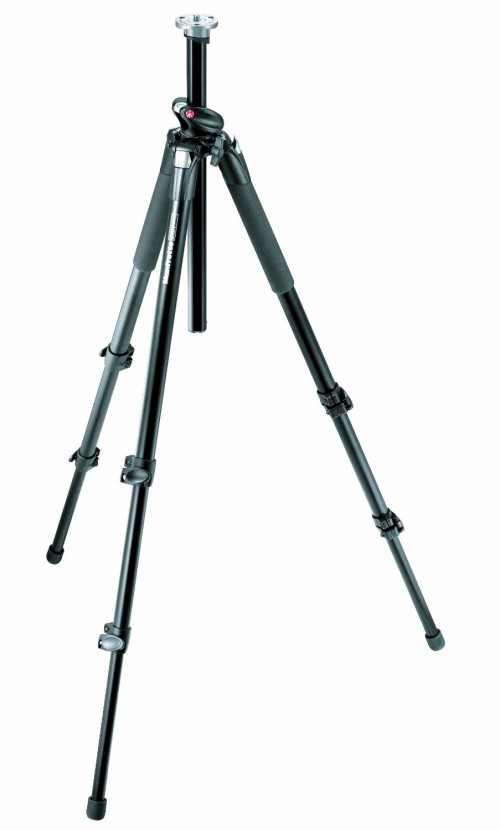
This is really boring, but a good idea for food photography.  You can get a tripod for 20 bucks, and it will do an okay job, especially if you buy a remote trigger (to fit the camera model) or shutter release cable, which will reduce camera shake. Or, if you really love the gift receiver, you’ll buy them a good Manfrotto (don’t forget to buy a ball head to go with the tripod legs if you aren’t buying a complete tripod).

4. A camera bag!

epiphanie sydney epiphanie ginger epiphanie charlotte epiphanie lola epiphanie lyric

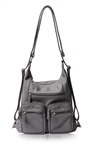
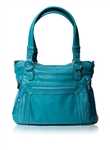
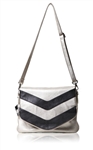
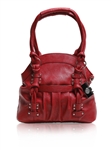
Great for bringing your camera around so you can take food photos everywhere you go!

I have 4 camera bags from Epiphanie, because I am an addict. They are awesome bags, and I don’t feel silly lugging a huge backpack everywhere that screams “THOUSANDS OF DOLLARS OF GEAR IN HERE!”  They also have men’s bags.  I have the London, and I get complimented on it every time I leave the house.  Some ladies also like Kelly Moore bags.

5. A copy of Lightroom!

lightrom screenshot

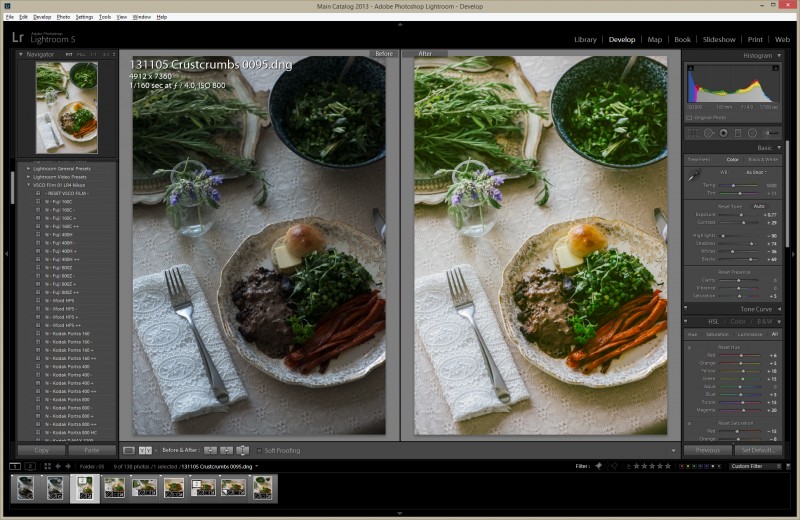
Bold statement here: Adobe Photoshop Lightroom is the best tool for editing photos.  Every digital photographer needs a copy of Lightroom.  If your photographer friend already has Lightroom, maybe buy them some editing presets (to make their photos look pretty), like VSCO or Pretty Presets.

Happy shopping!

Sunday Night Dinner at Grandma’s

There’s something to be said for making the house smell like roasted meat, adding aromatic warmth from slowly braising onions, peppercorns and bay leaf in hearty red wine for hours on end, steaming up the windows and infusing everything, including the curtains with the scent of home cooking. Admittedly, it’s a smell that’s not so enticing the day after.

It’s such an old-fashioned kind of smell, like home or grandma’s house. Actually I’m confident that I’ve out-grandma’d the older ladies in my building with the scents that come from our apartment on most Sunday nights. Cooking this way is about escapism. Before starting another work week, I take great pleasure in spending all day cooking dinner for the smells alone so I can bask in familiar scents and chase off any Sunday night stresses that come from thinking about going to work on Monday.

Beef Cheeks Au Poivre

At the end of it all I expect a perfectly tender roast, and depending on the cut of meat, something that’s falling apart, served with a gravy-like sauce. If it’s beef and I’m feeling particularly nostalgic, I like to have horseradish, freshly grated or in a prepared cream sauce. Roasted root vegetables are the ideal accompaniment and you could use whatever you want but carrots, scattered with fresh thyme before being roasted and caramelized in butter and honey taste like tradition, barely updated. Really old-fashioned would be peas and carrots but I just can’t bring myself to take it that far. Yotam Ottolenghi and Sami Tamimi have an excellent take on them in their first book, Ottolenghi the Cookbook if you’re looking to combine the two together. Instead, I like the idea of turning peas into a vibrant side salad, adding in a bunch of watercress, chopped roughly with some fresh parsley and tarragon, and a warm vinaigrette made from shallots lightly sautéed in butter, cooled by a splash of red wine vinegar.

For our Sunday Night Dinner at Grandma’s post I wanted to share a roast beef recipe, something simple with gravy that would be heightened with a grating of fresh horseradish, but that idea was quickly thrown out as soon as I saw that the butcher had four beef cheeks – on the small side for beef cheeks – tucked behind a stack of skirt steaks, right up next to the beef neck roasts. I’m a sucker for anything “au poivre” in the colder months. Peppercorns, cream and mustard are undeniably harmonious flavours at the table. Beef cheeks au poivre is different in that the “au poivre” treatment usually happens after the meat gets a quick sear stove-top and the pan, a dramatic de-glazing with some brandy. The great thing about using beef cheeks for this dish is that they retain their shape after hours of cooking but melt in your mouth and could literally be eaten with a spoon if it wasn’t so inappropriate to do. It’s an incredibly rich dish that I’m all too happy to enjoy on any given Sunday night in the winter, with or without grandma.

Beef Cheeks Au Poivre

Beef Cheeks Au Poivre

Serves 4

4 (approximately 830g in total) beef cheeks
3 tablespoons dijon mustard
2 tablespoons unsalted butter
2 tablespoons olive oil
500ml red wine
2 large shallots, roughly chopped
1 bay leaf
Kosher salt and freshly ground black pepper
1 x 30g tin green peppercorns in brine, drained
150ml whipping cream (35% M.F.)

Preheat the oven to 300°F.

Coat the beef cheeks generously with 2 tablespoons of the mustard, and season with salt and pepper. In a medium Dutch oven or other heavy-bottomed oven-proof pot with a tight fitting lid, heat the butter and oil over medium-high heat. Going in batches to avoid overcrowding the pot, brown the beef cheeks on all sides. Place the beef cheeks aside on a plate. Turn the heat down to low and add the shallots and red wine, and using a wooden spoon, scrape the brown bits from the bottom of the pot. Return the beef cheeks to the pot with any juices that have run out onto the plate. Toss in the bay leaf, cover with a lid and place in the oven for approximately 3.5 hours. Beef cheeks can take a lot of abuse without going dry or falling apart. You’ll know when they’re ready when they look like they’re about to fall apart, a bit like the meat is bound by gelatin – I’ve had some that take up to 7 hours.

Remove the beef cheeks from the pot and place on a plate, covered with foil to keep warm. With the pot back over low heat, whisk in the remaining 1 tablespoon of dijon mustard, whipping cream and green peppercorns. Serve the beef cheeks with the sauce poured over top.

If you’re making things ahead of time, you can separate the beef cheeks and the liquid left behind in the pot and refrigerate for a day or so. When ready to serve, re-heat the beef cheeks and rewarm the cooking liquid, adding the rest of the sauce ingredients as instructed above.

Zoë’s Baklava

You may have noticed that Gazelle Horns weren’t the only goodies on the Sisters of Salome‘s dessert tray.

One of the dancers, Zoë Smith, also made baklava, and agreed to share the recipe with Crustcrumbs.  Since this recipe wasn’t tested by John, the measurements aren’t in weights.

Gazelle Horns & Baklava

Zoë’s Baklava Recipe

Pastry:
1 Box Phyllo sheets
1/2 Cup Melted Butter

Filling:
1 Cup Walnuts
1 teaspoon Cinnamon
1 Tablespoon Honey
1 Tablespoon Brown Sugar
1/4 Cup Whole Cloves

Syrup:
1/2 Cup Water
1/2 Cup Brown Sugar
1/2 Cup Honey

  1. Preheat oven to 350°F.
  2. Brush a 12″ x 8″ pan with melted butter, then layer 16-20 sheets of phyllo into the pan, brushing each one with butter.
  3. In a bowl, mix all of the filling ingredients, then spread evenly in the pan.
  4. Layer 12 more phyllo sheets on top of the filling, brushing each with butter.
  5. Use a cutting wheel to cut baklava into the desired size and shape (Zoë used 2″ squares).
  6. Stick one clove into each piece.
  7. Bake at 350°F for 45 minutes or until golden brown.
  8. When finished, bring all syrup ingredients to a boil, and pour over warm baklava.  It should just reach the top layer.
  9. Cool and serve.

Sisters of Salome

Thanks again to the Sisters of Salome for inviting us to their event!  You should check out their Facebook page here.

Gazelle Horns

This past Friday, Sarah Skinner’s dance collective, the Sisters of Salome put on a show themed The Tea Room to raise funds for their upcoming Toronto summer 2014 Fantasy Belly Dance show, which will be  a full-length production inspired by the stories of the Arabian Nights. For Friday’s show, the dancers presented a traditional Moroccan tea ceremony to the audience, encompassing mint and rose water tea as well as various Moroccan delicacies.

This sounded like the ideal Crustcrumbs experience to us. I’m not generally a fan of rose or orange water but I could certainly be coerced into liking them in the right setting, like if a belly dancer happen to bring me a tray, spilling over in abundance with fragrant cookies. We also heard that the dancers would be balancing trays of candles on their heads in one of their routines, which meant we really couldn’t miss out on this performance.

Gazelle Horns

When I use rose and orange water at home, I generally use it to clean my counters. Its powerful floral scent overwhelms the white vinegar and water solution I use, masking the vinegar scent, leaving my counters smelling like roses. I think it’s something Martha Stewart came up with, and you know – it’s a good thing.

But given the right setting those floral scents can work wonders and have the ability to transport a person across the globe to another time where the fragrance of roses and orange blossoms hang in the thick night air. When we were invited to contribute to the evenings delights, I knew I had to do something that incorporated those scents. Gazelle Horns fit in perfectly with the theme, as they are scented heavily with orange blossom water and almonds, and their elegant crescent shape would mimic the fluid moves of the dancers.

The pastry for these cookies is not what you might expect. It’s actually much closer to a pasta dough than a cookie dough. As such, I say go all the way and use a pasta machine to achieve the appropriate thinness. You could absolutely roll out the dough by hand, as it’s done traditionally but I’ve found the pasta roller makes a major difference in making this an easy production.

Gazelle Horns

Gazelle Horns

Makes 30-40 cookies

For the filling:
340g jar almond butter, roasted and unsalted
115g icing sugar
25ml cold water
50g unsalted butter
1/8 teaspoon almond extract
2 tablespoons orange blossom water

For the pastry:
330g unbleached all purpose flour
1/2 teaspoon fine sea salt
50g unsalted butter, melted
150ml orange blossom water
1 large egg, beaten for egg wash
icing sugar, for garnish

Start making the filling by first draining off any liquid that has separated at the top of the jar of almond butter. In a small saucepan over low heat combine the icing sugar and water and heat just until the sugar is dissolved. Melt in the butter then add the almond butter and continue to stir until the mix is fully incorporated and smooth. With the pan off the heat, add the almond extract and orange blossom water and stir to incorporate. Refrigerate until ready to use. This mix can be made up to a week ahead of time.

To make the pastry, combine the flour and salt in the bowl of a stand mixer, fitted with the dough hook. With the mixer on low speed add the butter and orange blossom water and mix for approximately 5-10 minutes until the dough is smooth and elastic, similar to a pasta dough. Wrap the dough tightly in plastic wrap and let rest at room temperature for 30 minutes before proceeding.

Divide the dough into four pieces and going one piece at a time, and using a pasta roller be it hand crank or an automatic attachment on your stand mixer, feed the dough through the roller, gradually working up the thinness as you would for pasta, until the dough is very thin, finishing around the 5 or 6 mark if using a Kitchen Aid stand mixer attachment. The idea here is that you want a sheet that’s tissue paper thin.

Preheat your oven to 350°F and line two baking trays with parchment paper.

This next part is a little bit like making ravioli and pierogi. Lay the thin sheet of pastry down on a work surface. Grab a teaspoon of the filling mixture and roll it into a 1 1/2” – 2” log with your hands and place on the end of the pastry sheet, giving yourself approximately a 3” border, and cut the square of pastry using a pastry cutting wheel. Using your finger, dab the egg wash sparingly along three of the four side of the pastry square. Fold the pastry over the log and press firmly to seal the pastry, while also shaping the pastry into a crescent shape. Using a ravioli cutter, cut the crescent, giving yourself approximately 1/4” between the filling and the edge, as the pastry will shrink as it bakes. If there isn’t enough of a border, the chances of the filling exploding out during baking are pretty good.

Place each crescent on a parchment-lined baking tray and keep refrigerated until the trays are full. Bake the trays for approximately 5-8 minutes. The dough will not brown but dry slightly. Transfer the crescents to a cooling rack and allow to cool before dusting with the icing sugar.

Gazelle Horns

Sisters of Salome

Using People in Food Photography

Chicken Soup

The main idea behind Crustcrumbs was to shoot food how and where it might be eaten – sometimes in an imaginative way, like slime on a Sedgewick Hotel dessert cart, and sometimes literal, like eating chicken soup in bed while you’re sick.  While John and I both love gorgeous, perfectly staged food photography, we wanted to do something a little different for Crustcrumbs.  Food can be messy – actually messy, not “here are a few chocolate chips and splashes of flour strategically placed on a distressed wood board around some cookies” messy.  And usually, it’s eaten by people.  So when we decided to do a series of food to eat when you’re sick, we knew we wanted to get a model to play our sick person.

131101 Sick People 0538

It turns out it’s fairly easy to get people to say yes when you ask, “do you want to lie in my bed and drink a milkshake for a photoshoot?”  Our sick person was played by Kevin Matviw, and the person delivering food to Kevin is Jordan Armstrong.  Both are staffers at Second City in Toronto (and you may remember Jordan as being Crustcrumbs famous for loaning us a cart for our Ghostbusters shoot).

As we’ve learned, there are some pros and cons to working with people.  For instance, pro:  people are more fun to work with than food.  Con: sometimes they light napkins on fire in your kitchen while trying to make soup steam.  (We did this after a long conversation about whether or not microwaving tampons to create steam would release poisonous tampon chemicals into our lungs.  Janice Poon writes more about creating food photography steam on the set of Hannibal, here.)

Lighting napkins on fire

Pro: even something as simple as a hand adds an element of storytelling to a photo.  Con: models talk back.  (Not pictured: Jordan yelling “HOT! THE BOWL IS HOT!”  Be quiet and accept your first degree burns in the name of Crustcrumbs!)

Jordan serving chicken soup.

Pro: when we’re done, John lets us do shots of Sortilège.  Con:  uh… none.

Cheers

Since shooting people is what I do, I’m always up for using people in food photography.  Right now we’re working on everything from belly dancing to 1960s office Christmas parties to big group dinners.  Check out our Instagram feed for some spoilers.